Shipping invertebrates during winter 101. Triple frost protection for invertebrates (and also insects and reptiles)
Introduction: The -20°C Challenge
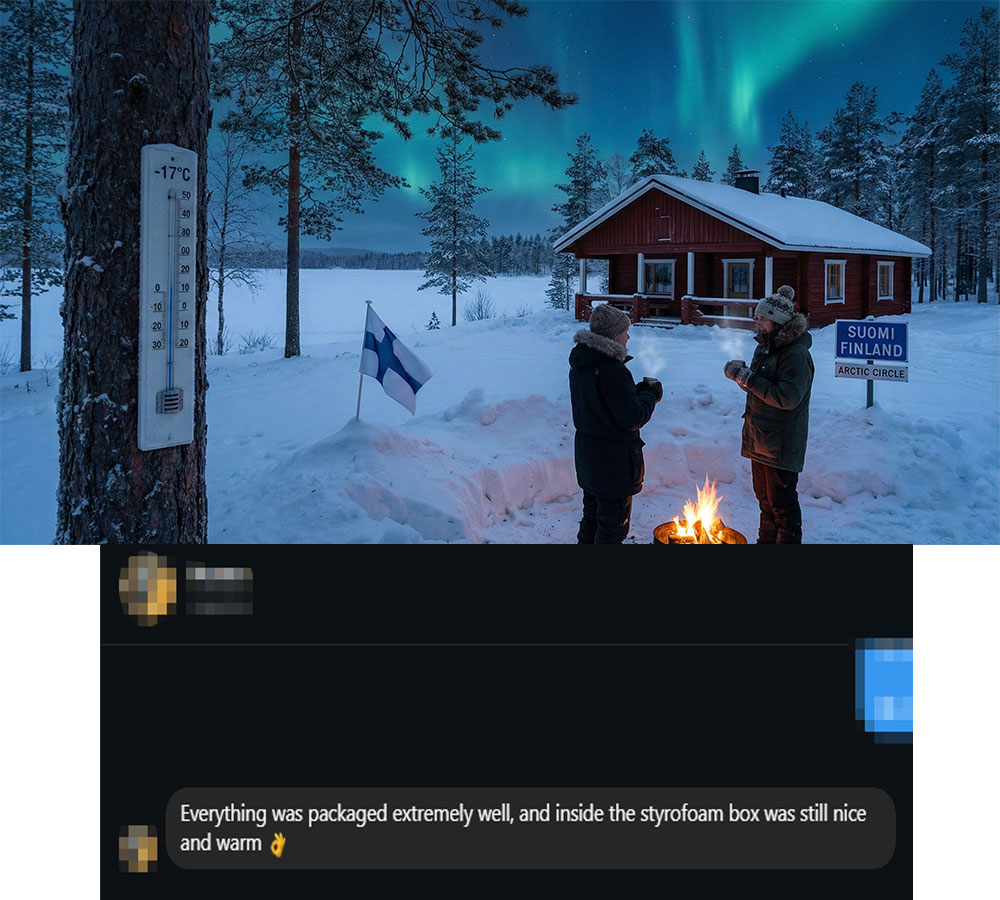
I was in communication with a hobbyist from Finland, and since I believed so much in my “trademark” method of shipping invertebrates in extreme weather, we both agreed to ship the isopods.
Shipping at -20°C might seem scarry, but it’s possible! I started using this method back in 2022 when – back then – I was shipping house plant cuttings everywhere in the EU, using this method.
Key Takeaway: “Our goal isn’t to control the weather; it’s to give the animals the absolute best fighting chance.”
The Philosophy: It’s Not Just About the Heat Pack
A heat pack alone is useless if the heat escapes. I have tried, and I have seen many failed ways to ship invertebrates during winter. It’s not about the mistakes, mistakes are for humans and if we don’t make mistakes we cannot evolve. But when the welfare of animals is involved, then we just can’t continue shipping animals in the freezing cold, we need to have a plan A and a plan B. I have seen isopod transportation boxes (think of plastic cricket boxes but smaller) wrapped only with a newspaper, inside a box with just reflective bubble insulation on the walls of the box and a heat pack. That bubble insulation only works if it is sandwiched tightly. If air penetrates – like in this case – then it offers 0 (zero) protection, unfortunately.
Insulation depth: You don’t just put a bug in a box with a heat pack; you wrap it in layers like a person wearing winter clothes.

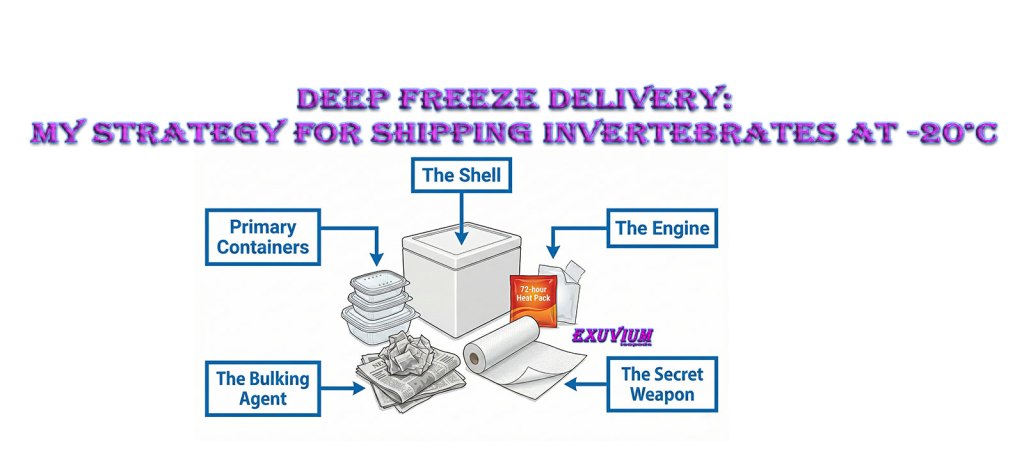
The Strategy: Yes to Airflow, no to Frost
- Primary Containers: Plastic salad boxes are durable and lightweight. Important tip ⚠️: you don’t need to make many holes on it! Invertebrates don’t need that and you are also risking more unnecessary airflow. Max I have 4 small holes, and that’s already a lot.
- The Secret Weapon: Garden Fleece. When shipping live invertebrates, proper insulation is a balancing act between warmth and airflow. That is why I use garden fleece. It acts as a permeable insulator, creating a stable microclimate around the shipping container to buffer against external temperature changes. Unlike bubble wrap—which creates a seal that can lead to dangerous condensation and CO2 buildup—fleece offers excellent thermal retention while remaining completely breathable. This ensures your invertebrates stay warm without the risk of suffocation or dampness during transit.
- The Bulking Agent: Newspaper. Using multiple newspaper sheets as a second wrapper, after the fleece, gives an additional aid against frost, since air is trapped within the newspaper sheets, which acts as a mild insulator.
- The Shell: EPS (Styrofoam) box that is sealed (that is important), since just cut pieces of styrofoam placed on all four sides, top and bottom of the cardboard box do almost nothing against frost, since cold air can freely enter inside.
- The Engine:
- 72-hour Heat Pack (Standard).
- 110-hour Heat Pack (For parcels that require more than two days in transit).
Step-by-Step Packing Guide (The Core)
Step 1: The Inner Sanctum
- Preparing the invertebrates in the plastic salad box (substrate moisture control is key here—too wet = freezes easier).
Step 2: The “Blanket” (Our Trademark)
- Action: Wrapping the salad box in Garden Fleece.
- Benefit: This creates a stable air gap right next to the invertebrates, preventing temperature spikes or drops.
Step 3: The “Coat”
- Action: Wrapping the fleece-covered unit in Newspaper.
- Benefit: Adds density and further distance from the cold outer walls.
Step 4: Heat Pack Placement
- Taping the heat pack to the underside of the lid (or side), ensuring it never touches the “walls” of the cardboard box, or the bottom, otherwise the package handlers could feel the warmth of the heat pack from outside.
- Pro Tip: Choose an 110h heat pack for longer than two days duration in transit.
Step 5: Sealing the EPS Box
- Ensuring the lid is tight and taped well to stop cold drafts.
ℹ️ Reminder: Triple frost protection AND UPS express are free of charge from €250,00 (from €80,00 for residents in the Netherlands).

Leave a comment